
Are you ready to take your WordPress site to the next level? If so,setting up a staging site is an essential step that can save you time,stress,and potential headaches down the road. imagine having a safe space where you can test out new themes, plugins, or major updates without risking your live site. Sounds like a dream, right? Well, it doesn’t have to be! In this beginner’s guide, we’ll walk you through the simple steps to create your very own WordPress staging site.Whether you’re looking to experiment wiht design changes,troubleshoot issues,or just explore new features,having a staging site is like having a safety net for your online presence. So, grab a cup of coffee, and let’s dive in to ensure your WordPress journey is smooth and prosperous!
Understanding the Importance of a Staging Site for Your WordPress Project
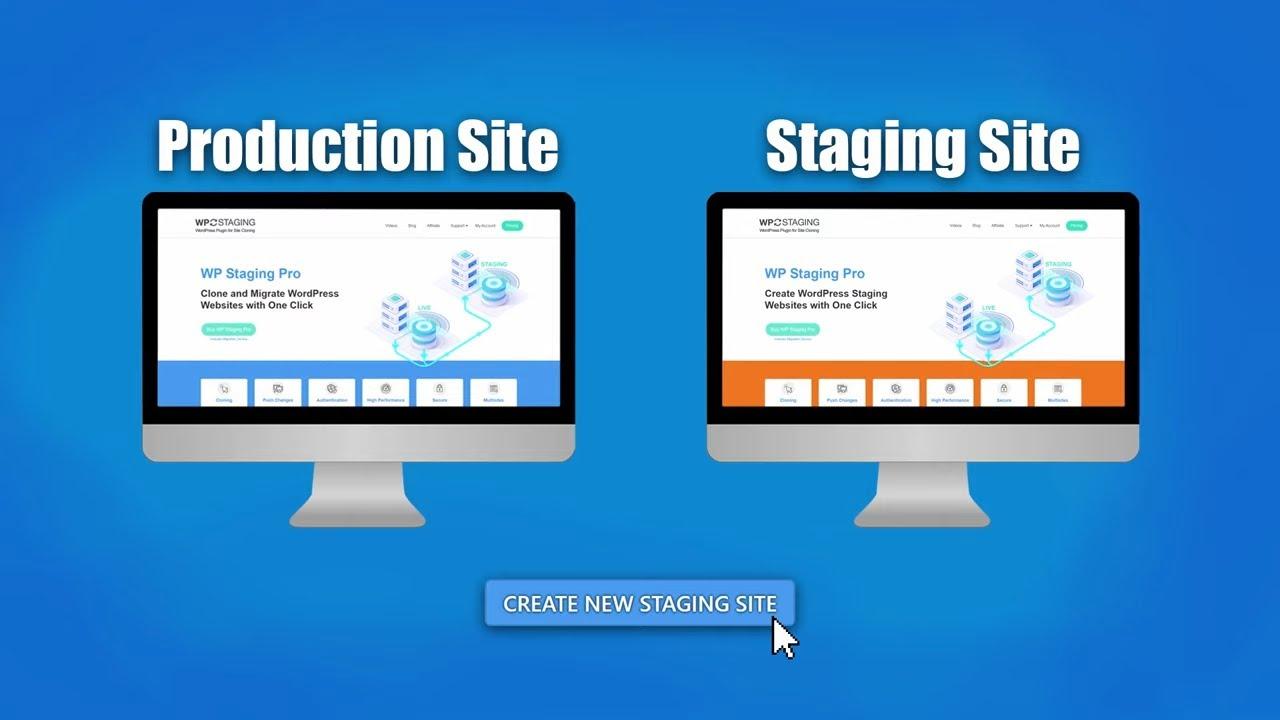
Creating a staging site for your WordPress project is essential for several reasons,especially if you want to maintain a professional and polished online presence. A staging site acts as a safe surroundings where you can test changes,plugins,themes,and new features without affecting your live website. This means no more worrying about breaking your site while experimenting with new design elements or functionalities.
Here are some key benefits of having a staging site:
- Safe Testing Ground: You can try out updates and modifications without risking your live site.
- Easy Troubleshooting: If something goes wrong, it’s easier to identify and fix issues before they reach your visitors.
- Enhanced Collaboration: If you work with a team, a staging site allows for collaborative testing and feedback before going live.
- Improved Performance: You can optimize your site’s performance on the staging site and apply those adjustments to the live site.
Moreover, a staging site helps in maintaining the integrity of your website’s SEO. When you make changes directly on your live site, you run the risk of negatively impacting your search rankings. Testing on a staging environment allows you to ensure all changes comply with SEO best practices before they go live.
Another important aspect to consider is the user experience. Changes can sometimes lead to unexpected issues, like broken links or malfunctioning features. By using a staging site, you can ensure that your updates enhance the user experience rather than detract from it. This is crucial for retaining visitors and maintaining a strong online reputation.
If you’re unsure about how to set up your staging site, here’s a simple comparison of popular methods:
| Method | Pros | Cons |
|---|---|---|
| using a Plugin | Easy to set up; user-friendly interface | May have limitations depending on the plugin |
| Manual Setup | Complete control over the environment | Requires technical knowledge; more time-consuming |
| Hosting Provider Tools | Often included in hosting plans; seamless integration | Dependent on hosting provider’s capabilities |
setting up a staging site is a critical step in the development and management of your WordPress project. It not only safeguards your live website but also enables you to implement changes confidently and efficiently.Whether you’re a beginner or an experienced developer, investing time in creating a staging environment is a decision you won’t regret.
Choosing the Right Hosting Provider for Your Staging Site
When it comes to setting up a staging site for your WordPress project,the choice of hosting provider can substantially impact your development process. A reliable hosting service not only ensures that your staging environment operates smoothly but also provides the necessary tools to make testing and development seamless. Here are some key factors to consider when selecting the right hosting provider:
- Performance and Speed: Choose a provider that guarantees fast loading times. A staging site should mimic your live environment, so performance is essential for accurate testing.
- Ease of Use: Look for a hosting provider that offers an intuitive control panel. This will simplify the process of creating and managing your staging site.
- Backup and Restore Options: An ideal host will provide automated backups and one-click restore options. This feature is crucial for recovering your site quickly in case anything goes wrong during testing.
- Support: Excellent customer support can be a lifesaver. opt for a provider that offers 24/7 support, so you can resolve any issues that arise without delay.
- SSL Certificates: Security is paramount, even on staging sites. Ensure that your hosting plan includes free SSL certificates to protect your data and give you peace of mind.
- Scalability: As your project grows,you may need more resources. choose a hosting provider that allows you to easily scale up your plan as necessary.
To give you a clearer picture, here’s a simple comparison table of some popular WordPress hosting providers that cater to staging sites:
| Provider | Performance | Ease of Use | Support | price |
|---|---|---|---|---|
| SiteGround | Excellent | User-Friendly | 24/7 Support | Starting at $6.99/mo |
| Bluehost | Good | Intuitive | 24/7 Support | Starting at $2.95/mo |
| WP Engine | Outstanding | Easy to Manage | 24/7 Support | Starting at $20/mo |
| Kinsta | top-tier | Simple Interface | 24/7 Support | Starting at $30/mo |
ultimately, the best hosting provider for your staging site will depend on your specific needs and budget. Take the time to evaluate your options, and don’t hesitate to reach out to customer service representatives if you have questions. Remember, the right provider can make a substantial difference in your WordPress development journey.

Exploring Different Methods to Create a Staging Site
Creating a staging site for your WordPress website can feel daunting, but it’s essential for testing changes without affecting your live site. There are several methods to set up a staging site, each with its unique advantages and considerations. Let’s delve into some of the most popular approaches.
One of the easiest ways to create a staging site is through WordPress plugins. These tools streamline the process, allowing you to clone your existing site with just a few clicks. Here are some popular plugins you might consider:
- WP Staging – This user-friendly plugin quickly creates a clone of your site in a subdirectory, making it easy to test changes.
- Duplicator – This versatile plugin not only helps with staging but also serves as a backup solution, allowing for easy migration.
- SitePush – Designed specifically for staging environments, it offers a seamless way to push changes to your live site.
If you prefer a more hands-on approach, you can create a staging site manually. This method requires a bit of technical no-how but allows for greater customization. Follow these steps:
- Create a subdomain or subdirectory: Use your web hosting control panel to set up a new subdomain (e.g., staging.yoursite.com) or create a subdirectory (e.g., yoursite.com/staging).
- Copy your files: Use FTP or a file manager to copy your WordPress files from your live site to the new location.
- Export and import the database: Access phpMyAdmin, export your live site’s database, and import it into a new database created for your staging site.
- Update wp-config.php: Make sure to change the database credentials in the wp-config.php file to match your new staging database.
Another effective method is to use hosting providers that offer built-in staging environments. Many reputable hosting services,such as bluehost,SiteGround,and WP Engine,provide easy-to-use staging features. This option saves you time and reduces the technical complexity involved in setting up a staging site. Here’s how it typically works:
| Hosting Provider | Staging feature |
|---|---|
| Bluehost | One-click staging setup |
| SiteGround | Push to live with a single click |
| WP Engine | Automatic backups before pushing changes |
Lastly, if you’re looking for a temporary solution, consider using local development environments like Local by Flywheel or XAMPP. These tools allow you to create a WordPress site on your computer, providing a sandbox environment for testing.Once you’re satisfied with your changes, you can deploy them to your live site.
Each of these methods has its pros and cons, so think about your specific needs and technical comfort level. Whichever approach you choose, setting up a staging site is a step towards better site management and a smoother user experience on your live site.
Step-by-Step Guide to Setting Up a Staging Environment
Setting up a staging environment for your WordPress site is a crucial step in ensuring a smooth development process. A staging site allows you to test changes before pushing them live, minimizing the risk of breaking your production site.Here’s how to set it up effectively:
- Choose Your Method: You have several options for creating a staging site. Consider using:
- Plugins like WP Staging or Duplicator
- Your hosting provider’s built-in staging features
- Manually creating a subdomain
Once you’ve chosen your preferred method,the next step is to make a complete backup of your website. This ensures that you have a restore point in case anything goes wrong during the process. You can use plugins such as UpdraftPlus or BackupBuddy for a hassle-free backup experience.
After securing a backup, it’s time to set up your staging site:
- Using a Plugin: Install your selected plugin, follow the prompts to create a staging site, and ensure it includes all your existing content and settings.
- Through Your Hosting Provider: Access your hosting dashboard, find the staging option, and create the staging site directly from there. This method is often the simplest and quickest.
- Manual setup: If you’re comfortable with a bit of technical work, create a subdomain (like staging.yoursite.com), copy your WordPress files there, and set up a new database.
Next, ensure that your staging environment is secure. You can set up password protection using an .htaccess file or through your hosting account. This prevents unauthorized access while you’re making changes.
once your staging site is live, it’s important to test it thoroughly.check that all functionalities, including forms and plugins, work as expected. You can also use this environment to experiment with new themes, plugins, or even custom code without any fear of affecting your live site.
Lastly, don’t forget to keep your staging site updated and clean. Regularly remove unnecessary tests, and if you’re finished with any changes, apply them back to your live site. Also, remember to delete the staging site once you’re done to avoid confusion and potential security risks.

Navigating the WordPress Dashboard: Key Settings for Your Staging Site
Once you’ve created your staging site, the next step is to get familiar with the WordPress Dashboard. This is where you’ll manage your staging environment and ensure everything runs smoothly. Here are some key settings and sections to focus on:
Site Settings
First off, navigate to the Settings section of your dashboard. Here, you can customize fundamental aspects of your site. Pay special attention to:
- general Settings: Update your site title and tagline to reflect your staging purpose.
- Reading Settings: Adjust the visibility of your staging site. It’s advisable to set it to discourage search engines from indexing this version.
- Permalinks: Ensure your permalinks are configured so they mirror your live site or adjust them for testing different formats.
Plugins and Themes
Your staging site is the perfect place to experiment with plugins and themes. Head over to the plugins section to:
- Install new plugins that can enhance your site’s functionality.
- Test existing plugins for compatibility with new updates.
- Safely deactivate plugins to check for conflicts without affecting your live site.
Under the Appearance tab, you can also try out different themes. Remember, this is your sandbox to play around, so don’t hold back!
Content Management
Managing your content is crucial, especially when testing updates and changes. Use the Posts and Pages sections to:
- Create drafts for new content without publishing them to the live site.
- Edit existing posts and pages to see how changes affect your design and layout.
- Experiment with different types of media to enrich your content.
Backup and Restore
While you’re working on your staging site, it’s wise to set up a backup solution. Many plugins can help you automate the process. Consider using:
- UpdraftPlus: Easily back up and restore your staging site.
- BackupBuddy: A premium option for comprehensive backup solutions.
This way, you can always revert to an earlier version if something goes awry during your testing phase.
Monitoring Changes
keep an eye on the changes you’ve made. Utilize plugins like WP Rollback to easily undo theme and plugin updates if they don’t work as expected.Tracking changes will save you time and headaches in the long run.
Testing Your Changes: Best Practices for Quality Assurance
once you’ve set up your WordPress staging site,the next crucial step is testing your changes thoroughly before pushing them live.This is where quality assurance plays a pivotal role in ensuring that your website operates smoothly and efficiently without any unexpected hiccups. Here are some best practices to follow during this vital phase:
- Backup Your Site: Always start by creating a backup of your staging site. This ensures that if something goes wrong during testing, you can quickly revert to a previous state without losing any data.
- Test on Different Devices: Your users may access your site from a variety of devices and browsers. Testing on multiple platforms ensures that your changes look and function well across the board.
- Check for Compatibility: if you’ve updated themes or plugins, make sure they work seamlessly together. Compatibility issues can often lead to site disruptions, so it’s important to verify this early on.
- Emphasize Functionality: Go through all functionalities on your site, such as forms, payment gateways, and navigation. Make sure everything is working as intended and that there are no broken links or missing elements.
- Monitor Site Speed: Use tools like Google PageSpeed Insights or GTmetrix to assess your site’s performance. After making changes, it’s essential to ensure that your website loads quickly to maintain a positive user experience.
Additionally, you may want to implement automated testing tools. These can definitely help streamline the process and catch issues that might slip through manual checks. Here’s a simple comparison of some popular tools:
| Tool | Features | Best For |
|---|---|---|
| selenium | Browser automation, supports multiple programming languages | Developers looking for flexible testing |
| TestCafe | Easy setup, no WebDriver needed, supports modern web apps | Teams focusing on JavaScript frameworks |
| WP Test | WordPress-specific testing suite, easy integration | WordPress developers wanting a tailored solution |
Once you’ve performed thorough testing, gather feedback from team members or stakeholders. Their insights may highlight aspects you might have overlooked.Consider using a checklist for your testing process to ensure that every aspect is covered and nothing slips through the cracks.
By adhering to these best practices, you’ll create a more reliable website that enhances user satisfaction and trust. Remember, the goal is not just to find bugs but to ensure a flawless experience for your visitors when you finally launch those changes to your live site.
How to Migrate Changes from Staging to Live Site Seamlessly
When you’ve made changes on your WordPress staging site, moving those updates to your live site should be a smooth process. Here’s a straightforward guide to ensure a seamless migration.
First,it’s essential to backup your live site before making any changes. This way, if anything goes wrong during the migration, you have a restore point. Many WordPress plugins, like UpdraftPlus or BackupBuddy, can help you with this.
Next,you’ll want to compare the changes made on your staging site against the live site to ensure everything is aligned. This can be done manually, but using a version control system can make this process significantly easier. Here’s a brief checklist to help:
- Review new content: Make sure all text, images, and media are ready to go.
- Check for plugin updates: Ensure that all plugins used on the staging site are also updated on the live site.
- test functionality: Confirm that all features work as intended, including forms, links, and buttons.
Once you’re ready to migrate, you can choose from several methods, each with its pros and cons:
| Method | Pros | Cons |
|---|---|---|
| Manual Migration | full control over what’s transferred | Time-consuming, requires technical skills |
| using a Migration Plugin | Easier and faster, minimal technical knowledge needed | May not handle complex migrations perfectly |
| Hosting Provider Tools | Usually straightforward, frequently enough included | Limited versatility, may require additional steps |
After choosing your method, follow the necessary steps to push your changes live. If you’re using a plugin, simply follow the prompts. For manual migration, you’ll need to transfer files via FTP and update the database through phpMyAdmin.Make sure to clear your cache after migration to see the changes reflected on the live site.
once everything is live, conduct a thorough review of your website. Check for any inconsistencies or broken links. It’s always better to catch any issues early. If you run into problems, you can quickly revert back to your backup, ensuring minimal downtime for your visitors.
Troubleshooting Common Issues on Your Staging Site
running into issues on your staging site can be frustrating,especially when you’re trying to test updates or new features. Here are some common problems and how to troubleshoot them effectively.
1. Site Not Loading or Showing a Blank Screen
This is frequently enough referred to as the “White Screen of Death.” Here’s what you can do:
- Check for PHP errors by enabling debugging in
wp-config.php:define('WP_DEBUG', true); - Temporarily deactivate plugins by renaming the
pluginsfolder via FTP. - Switch to a default theme to rule out theme-specific issues.
2. database Connection Error
It’s crucial that your staging site connects to the database correctly. Here’s how to troubleshoot:
- Verify your
wp-config.phpcredentials for database name, username, password, and host. - ensure that the database server is running, especially if you’re using local hosting.
- If you recently migrated your site,check if the database was imported correctly.
3. Performance Issues
If your staging site is running slow, consider these tips:
- Disable unnecessary plugins that might potentially be consuming resources.
- Optimize your database with a plugin like WP-Optimize.
- Ensure that your hosting environment provides adequate resources for testing.
4. Changes Not reflecting
If you’re not seeing changes made in your staging environment, it could be due to caching.here’s how to address it:
- Clear your browser cache or try accessing the site in incognito mode.
- Flush any caching plugins you have active, such as WP Super Cache or W3 Total Cache.
- Check your server-side cache settings if applicable.
5. SSL Issues
sometimes, staging sites can run into SSL certificate problems.Follow these steps to resolve them:
- Ensure SSL is enabled if you’re using a plugin or through your hosting provider.
- Look for mixed content errors in your browser’s console and correct URLs accordingly.
- Consider using a plugin like Really simple SSL to help manage SSL settings.
If you encounter any specific errors not listed here, don’t hesitate to consult the wordpress support forums or your hosting provider’s support. They can offer targeted assistance based on your unique setup.

Keeping Your Staging Site Secure: Essential Tips
When it comes to setting up a staging site for your WordPress project, security should be at the forefront of your mind. A staging site is essentially a clone of your live website, which means it contains sensitive data and may also be vulnerable to unauthorized access. Here are some essential tips to ensure your staging environment remains secure:
- Use Strong Passwords: Always use complex, unique passwords for your staging site. Avoid common phrases or easily guessable combinations. Consider using a password manager to generate and store secure passwords.
- Limit Access: Restrict access to only those individuals who absolutely need it. Utilize IP whitelisting to allow only specific addresses to access the staging site.
- Set Up Basic Authentication: Protect your staging site with an additional layer of security through basic authentication. This requires users to enter a username and password before accessing the site.
In addition to these initial steps, consider implementing the following practices:
- Keep WordPress Updated: Regularly update your WordPress core, themes, and plugins.This ensures you benefit from the latest security patches and features.
- Use SSL Encryption: Set up SSL for your staging site. This encrypts the data transmitted between the user and the server, protecting sensitive data.
- Regular Backups: Schedule regular backups of your staging site. In case of a breach or failure, you can quickly restore your site to its previous state without losing vital data.
Monitoring your staging site for vulnerabilities is just as critically important as securing it. Consider implementing these monitoring practices:
- scanning for Malware: Use security plugins that offer malware scanning features to identify potential threats early on.
- Track Changes: Keep a log of any changes made to your staging site. This helps in identifying any unauthorized modifications or suspicious activities.
Lastly, remember that a secure staging site is not just about protecting it from external threats.You also need to think about how you handle sensitive information:
| Best Practices | Description |
|---|---|
| Remove Sensitive Data | Do not carry over sensitive customer data from the live site to the staging environment. |
| Disable Search Engines | Prevent search engines from indexing your staging site by adding a “noindex” tag in the header. |
By following these guidelines, you can create a staging site that not only serves its purpose efficiently but also safeguards your data and privacy. Taking proactive steps to enhance your staging site’s security can save you from unwanted headaches in the future.
Regular Maintenance for Your Staging Site: What You Need to Know
Maintaining a staging site is crucial for ensuring that your primary website operates smoothly. Regular check-ups can help you avoid technical glitches and keep your content up-to-date. Here are some essential aspects to consider:
- Update Plugins and Themes: Always ensure that your staging site reflects the latest version of your plugins and themes. This helps you identify any compatibility issues before updating your live site.
- Test New Features: use your staging site to experiment with new features. Whether it’s a plugin update or a new theme, testing in a controlled environment allows you to see how changes will affect your live site.
- Backup Regularly: Just as you back up your live site, make sure to back up your staging site. This ensures that you can revert to a previous state if something goes wrong during testing.
- Monitor Performance: Keep an eye on your staging site’s performance.Use tools to check loading times and responsiveness. This can help identify potential issues before they reach your audience.
Another key point is to periodically clean up your staging site.Over time, unnecessary files and data can pile up, leading to performance issues.
| Task | Frequency |
|---|---|
| Update Plugins/Themes | Monthly |
| Backup | Weekly |
| Performance Check | Bi-weekly |
| Clean Up | Quarterly |
by following these simple but effective maintenance practices, you can ensure that your staging site remains a reliable resource for testing and development.Don’t overlook the importance of a well-maintained staging site; it’s your safety net for a seamless live environment!
Making the Most of Your Staging Site: Additional Tools and resources
Once you’ve set up your staging site, the real fun begins! here are some additional tools and resources to help you maximize its potential. Think of your staging environment as a playground where you can experiment without the fear of affecting your live site.
First up, consider utilizing version control systems.Tools like Git allow you to track changes to your code and collaborate with others seamlessly. This not only makes it easy to revert to previous versions if something goes wrong but also helps maintain a clear history of what changes were made and why.
Next, integrate backup solutions into your workflow. Having a reliable backup plugin, such as UpdraftPlus or BackupBuddy, ensures that you can restore your staging site quickly if needed. It’s a safety net that allows you to test with confidence, knowing that your work is secure.
don’t forget about performance testing tools! using services like GTmetrix or Pingdom on your staging site can help identify potential bottlenecks or areas for optimization before you implement changes on your live site. This proactive approach can significantly enhance user experience once you go live.
Here’s a speedy comparison of some popular backup and performance testing tools:
| Tool | Type | Main Features |
|---|---|---|
| UpdraftPlus | Backup | scheduled backups, cloud storage integration |
| BackupBuddy | Backup | Complete site backups, easy restores |
| GTmetrix | Performance | Page speed analysis, recommendations for advancement |
| Pingdom | Performance | Uptime monitoring, performance insights |
leverage user feedback tools.Implementing features like surveys or feedback forms on your staging site allows you to gather insights from real users before rolling out changes. Tools like Hotjar or Google Forms can provide valuable data that helps you refine your website further.
Incorporating these additional resources can significantly enhance your workflow and results. As you continue to experiment and learn in your staging environment, you’ll find yourself making more informed decisions that ultimately lead to a better experience for your site visitors.

When to Use a Staging Site: Real-life Scenarios and Benefits
Using a staging site can be a game changer for your WordPress website management. Imagine you want to implement a notable design overhaul or try out a new plugin. Without a staging site, you risk breaking your live website or causing a frustrating experience for your visitors. A staging site allows you to experiment in a safe environment, ensuring everything runs smoothly before updating your live site.
Here are some real-life scenarios where a staging site becomes invaluable:
- Theme Changes: When switching themes, a staging site lets you preview the design and functionality without disrupting the user experience on your live site.
- Plugin Testing: Before adding new plugins or updating existing ones, use a staging environment to confirm compatibility and functionality.
- Site Functionality Tweaks: If you’re making code changes or customizations, testing on a staging site ensures that everything works as intended.
- Content Updates: Large-scale content updates, like revamping blog posts or adding new pages, can be tested on a staging site for proper formatting and SEO adjustments.
The benefits of using a staging site extend beyond just testing. Consider these advantages:
- Reduced Downtime: Changes can be made and tested without the risk of breaking the live site, leading to zero downtime for your visitors.
- Improved User Experience: By ensuring everything works seamlessly before going live, you enhance user satisfaction and retention.
- Backup and Restoration: If something goes wrong during testing, a staging site allows you to revert to the previous version without affecting your live site.
- Collaboration: If you’re working with a team, a staging site is an excellent way to gather feedback and make adjustments collaboratively before finalizing changes.
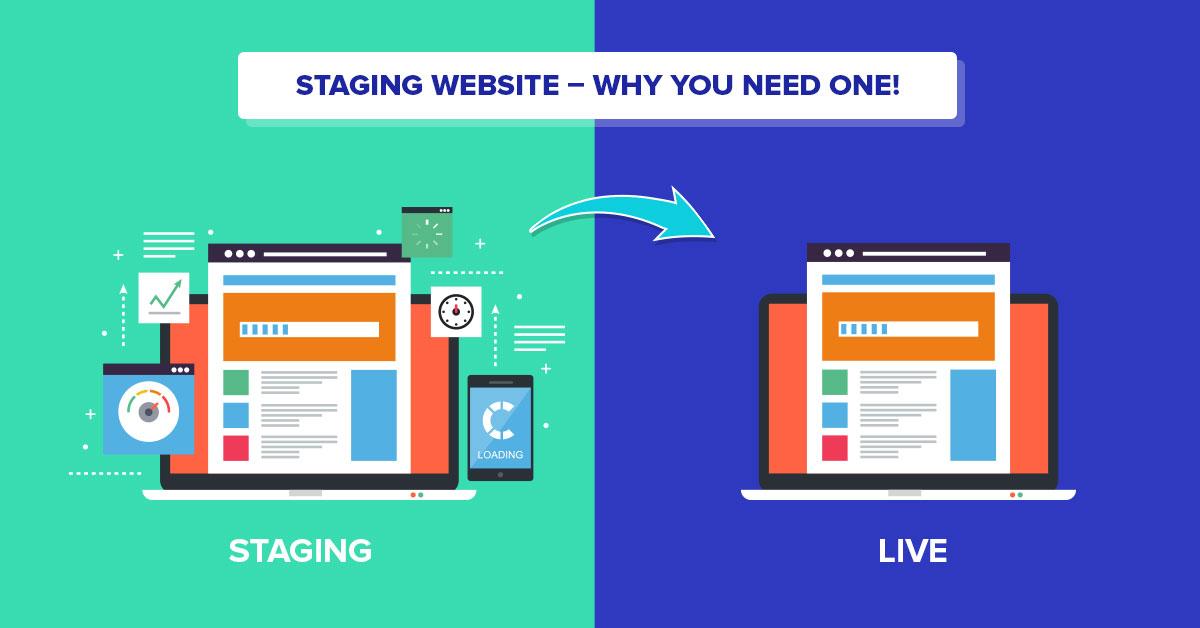
To visualize the differences, here’s a simple comparison:
| Staging Site | Live Site |
|---|---|
| Safe environment for testing changes | Publicly accessible, live content |
| No risk of user disruption | Potential disruption from errors |
| Easy to roll back changes | Rolling back can disrupt user experience |
using a staging site is not just a safety net but a proactive approach to maintaining a successful WordPress site.By testing changes thoroughly, you protect your visitors from bad experiences and ensure your website runs optimally.
Frequently Asked Questions (FAQ)
Q: What is a WordPress staging site?
A: A WordPress staging site is a clone of your live website where you can test changes, updates, or new features without affecting your actual site. Think of it as a safe playground where you can make mistakes and learn before going live!
Q: Why should I set up a staging site?
A: Setting up a staging site is crucial for a number of reasons! It helps you avoid potential downtime, prevents broken features on your live site, and allows you to experiment without the risk. If you’re serious about maintaining a professional web presence, a staging site is a game-changer.
Q: Do I need technical skills to create a staging site?
A: Not at all! While some technical knowledge can help, many hosting providers offer one-click staging solutions. plus, I’ll guide you through the steps in this article, so you’ll feel like a pro in no time!
Q: What tools do I need to set up a staging site?
A: You may need a reliable web hosting provider that supports staging sites. Popular options include SiteGround, Bluehost, and WP engine. Additionally, there are plugins like WP Staging or Duplicator that can make the process even easier!
Q: Can I use a free plugin to create a staging site?
A: Absolutely! There are several free options available, like WP Staging or Duplicator. However, keep in mind that premium plugins often offer more features and smoother experiences. It’s worth weighing your options based on your needs.
Q: How do I transfer my changes from the staging site to my live site?
A: Once you’re happy with your changes, the transfer process usually involves a simple push button if you’re using a good staging plugin. If you’re doing it manually, you’ll need to copy files and update your database. But don’t worry,I’ll break this down step-by-step in the article!
Q: How often should I update my staging site?
A: Ideally,you should update your staging site whenever you make significant changes to your live site,whether it’s new plugins,themes,or major updates. Regularly syncing helps ensure you’re always working with the most current data.
Q: Is it safe to make significant changes on a staging site?
A: Definitely! that’s the beauty of a staging site. You can experiment freely. Just remember, once you’re satisfied with your changes, thoroughly test everything before pushing it live to avoid any surprises!
Q: What if I encounter issues during setup?
A: Don’t panic! It’s completely normal to face a few bumps along the way. You can consult the FAQ section of your hosting provider,check community forums,or even reach out to support. There’s a wealth of resources available to help you troubleshoot!
Q: How will a staging site benefit my website’s performance?
A: By testing changes in a staging environment, you ensure that everything runs smoothly before hitting the live site. This means fewer issues, better user experience, and ultimately, a more professional image for your visitors!
Q: Ready to set up your staging site?
A: Absolutely! Following our beginner’s guide is your first step toward a more secure and stress-free WordPress experience. Let’s dive into the steps and make your website management easier and more effective!
To Conclude
Outro
And there you have it! Setting up a WordPress staging site might seem daunting at first, but with the steps we’ve covered, you’ll be well on your way to creating a safe space for testing your changes and improvements. Remember, a staging site isn’t just a luxury; it’s a necessity for anyone serious about maintaining a professional and high-performing website.
So,why wait? Go ahead and give it a try! You’ll not only gain confidence in making updates but also protect your live site from potential mishaps. If you run into any hiccups along the way, don’t hesitate to seek help from the vibrant WordPress community or revisit this guide.
Happy staging, and here’s to making your WordPress site the best it can be! 🚀