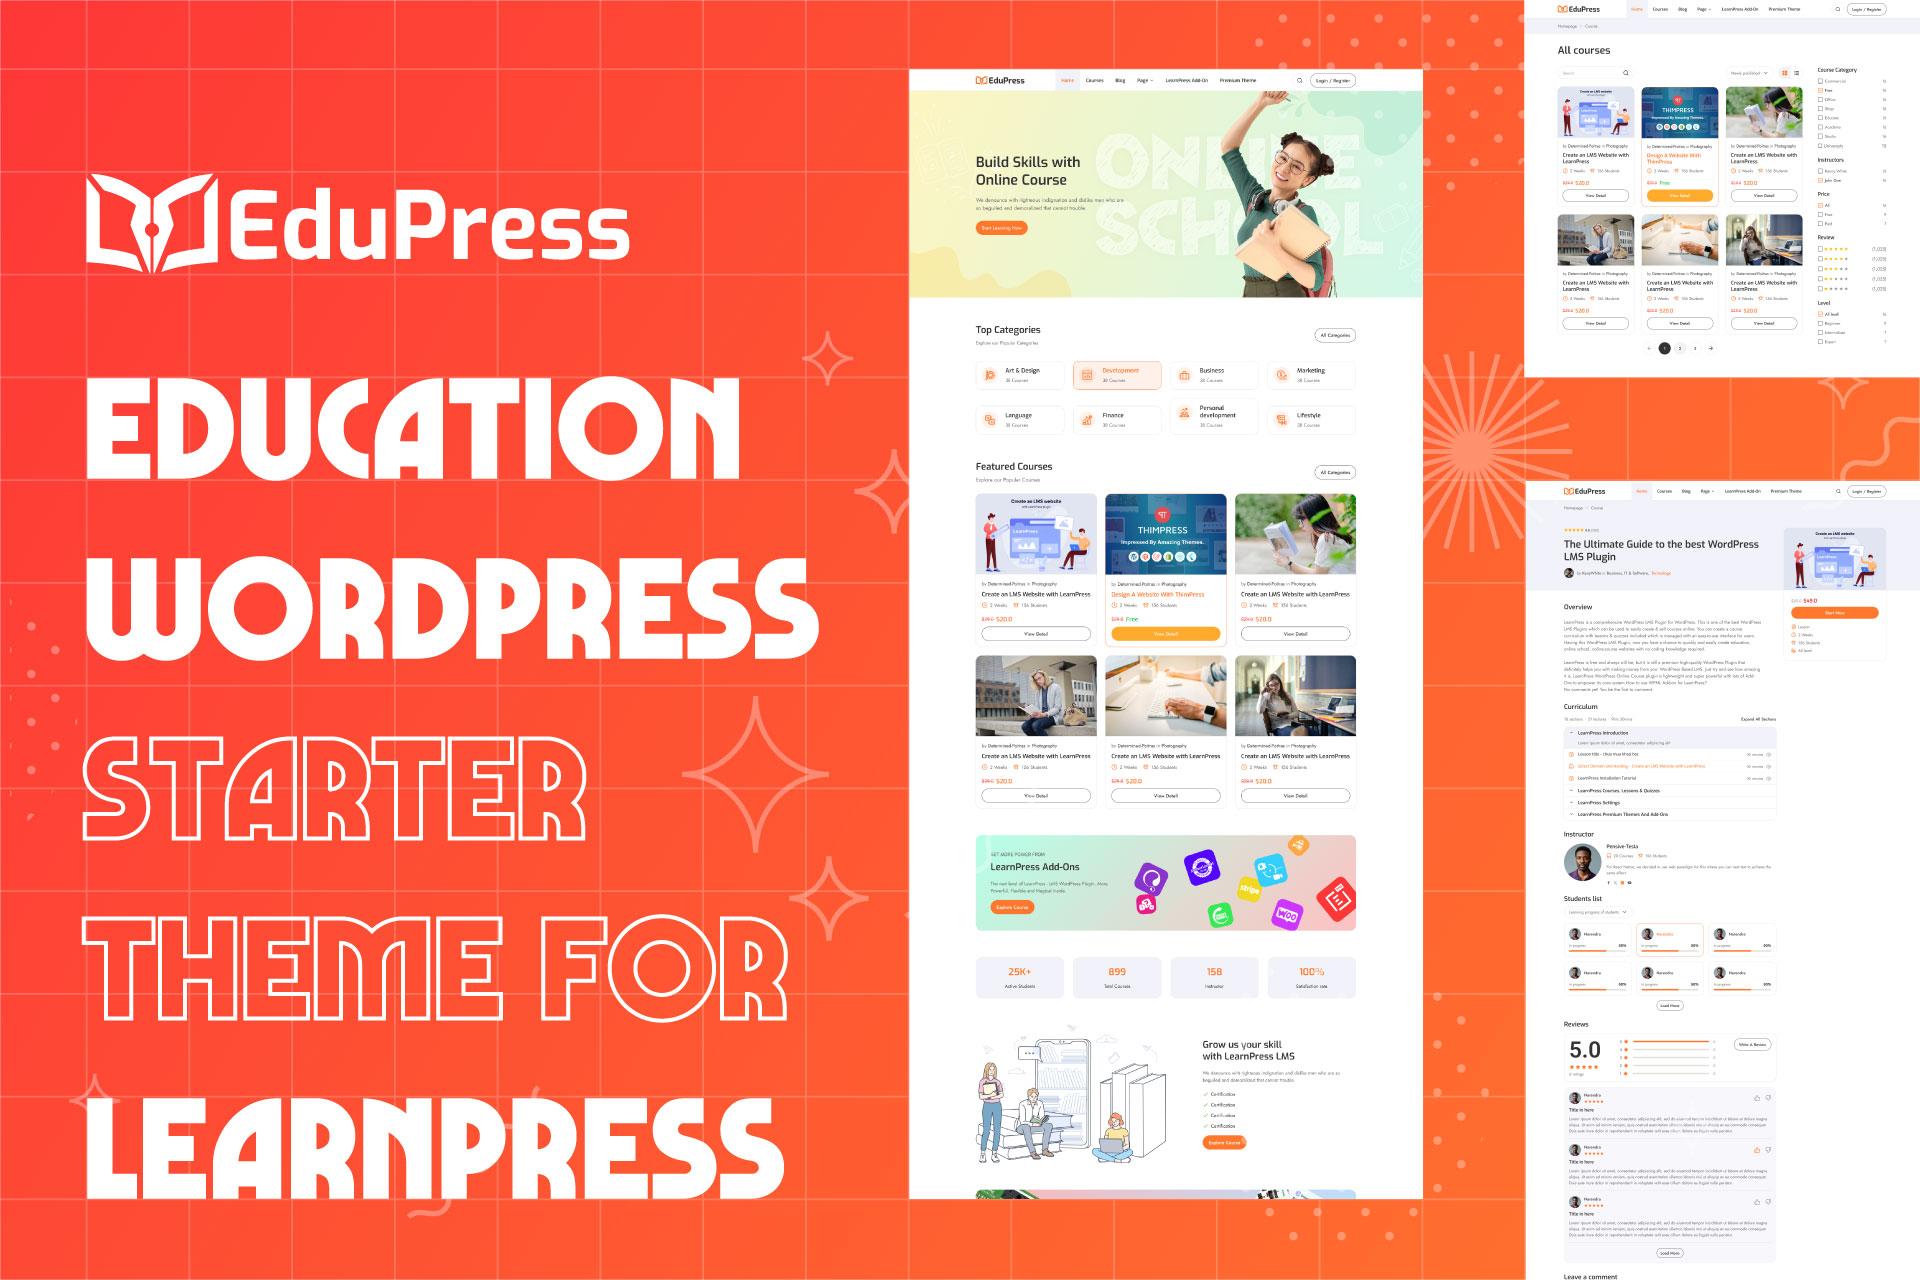
Are you looking to take your Eduma WordPress theme to the next level? Whether you want to make your website more visually appealing or ensure it aligns perfectly with your brand identity, editing the header section is a great place to start! The header is often the first thing visitors see, making it a crucial component of your site’s overall design and functionality. In this article, we’ll walk you through the simple yet effective steps to customize the header section of your Eduma theme. By the end, you’ll have the tools and confidence to create an eye-catching header that not only captures attention but also enhances user experience. So, let’s dive in and transform your website together!
Understanding the Header Section in Eduma WordPress Theme
When diving into the Eduma WordPress theme, one of the first elements you’ll encounter is the header section. This area serves as the digital storefront of your website, making it crucial for user engagement. Understanding how to customize this section can significantly enhance your site’s appeal and functionality.
The header typically includes several key components that you should pay attention to:
- Logo: Your brand’s identity begins with your logo. Upload a high-quality image that resonates with your audience.
- Navigation Menu: A clear and concise menu guides visitors through your site. Structure it logically to enhance usability.
- Contact Information: Displaying your contact details prominently can improve trust and accessibility.
- Call-to-action Buttons: Encourage user interaction with strategically placed buttons that lead to meaningful pages.
To edit the header, navigate to the Appearance section of your WordPress dashboard, then select Customize. Here, you’ll find options specific to your header. Depending on your version of Eduma, you might see a variety of settings that allow you to alter fonts, colors, and layouts. Experiment with these settings to find a combination that fits your vision.
Another powerful aspect of the Eduma theme is its ability to support multiple header layouts. You can choose from a standard header, a centered logo, or even a split header. Here’s a swift comparison of each layout’s feature:
| Header Layout | Best For | Key Feature |
|---|---|---|
| Standard Header | Traditional sites | Simple and effective |
| Centered Logo | Modern aesthetics | Balanced appearance |
| Split Header | Feature-rich sites | Dual functionality |
Once you’ve settled on a layout, take the time to refine the colour scheme and typography. utilizing the theme’s color palette can help you maintain brand consistency. Make sure to select fonts that are not only visually appealing but also easy to read across various devices.This attention to detail can significantly improve user experience.
Lastly,don’t forget to preview your changes before publishing. The Eduma theme provides a live preview feature,allowing you to see exactly how your adjustments will look on the front end. This step is crucial to ensure that everything aligns as you envisioned,making your header not just functional but also a visual delight.
Exploring the Built-in Customization Options
When it comes to customizing your header in the Eduma WordPress theme, the built-in options make the process seamless and intuitive. You don’t need to be a coding expert to achieve a stunning and professional look. The customization panel is user-amiable,allowing you to see changes in real-time as you make adjustments.
First, let’s dive into the options available for logo customization. You can easily upload your own logo and adjust its size to fit perfectly within your header. Here are a few tips to ensure your logo looks its best:
- Optimal Size: Aim for a size around 200px in height for best clarity.
- File Format: Use PNG or SVG for high-quality images that remain sharp.
- Alignment: Choose left, center, or right alignment based on your design preference.
Next up is the menu configuration. Eduma supports multiple menus, allowing you to create a structured navigation experience for your users. You can assign primary and secondary menus, ensuring visitors can easily find what they need. Don’t forget to utilize the mega menu feature to showcase subcategories in a visually appealing manner!
Another standout feature is the ability to customize header colors and fonts. This is where your creative flair can really shine. You can select a color scheme that aligns with your brand identity and choose from a variety of fonts to enhance readability and aesthetic appeal. Here’s a quick overview of how to set this up in the Customizer:
| Element | Customization Options |
|---|---|
| Background Color | Pick a color that complements your logo. |
| Text Color | Ensure it contrasts well for better visibility. |
| Font Style | Select from the available Google Fonts. |
Don’t overlook the header widgets. You can add social media icons, search bars, and even custom texts that reflect your brand’s personality. This not only enhances functionality but also keeps your header looking clean and organized. Widgets can be easily configured and dragged into position, allowing for a personalized touch.
consider the sticky header option. This feature keeps your header visible as users scroll down, making navigation easier and improving user experience. To activate it, simply toggle the switch in the header settings. It’s a simple feature that can significantly impact usability.
the built-in customization options of the Eduma theme empower you to create a header that not only looks great but also serves its purpose effectively. With just a few clicks, you can transform your site’s appearance and drive engagement from the moment visitors arrive.
How to Access the Header Settings in Your dashboard
Accessing the header settings in your Eduma WordPress theme is a straightforward process that can significantly enhance the look and feel of your website. To begin, log in to your WordPress dashboard and navigate to the left sidebar. Here, you’ll want to locate the Appearance section, which is typically found towards the bottom of the menu.
Within the Appearance menu, click on Customize. This action will open the WordPress Customizer, where you can see a live preview of your changes as you make them. Look for the Header option in the list of customization settings. Clicking on this will take you directly to the header settings panel, where you can modify various elements.
In the header settings, you’ll find several options you can tweak to suit your website’s style. Here are some of the primary features you can customize:
- Logo: Upload a custom logo or choose from existing media.
- Site Title & Tagline: Adjust the text displayed on your header.
- Header Layout: Select from different layouts to determine how your header elements appear.
- Menu Settings: Choose which menu to display in your header, allowing you to guide visitors to essential pages.
- background Color: Pick a background color that complements your branding.
After you’ve made your desired changes, always remember to click the Publish button at the top of the Customizer to save your modifications.This ensures that your new header settings are live on your site immediatly.
If you want to make more advanced changes to the header, you might consider using custom CSS. You can add CSS directly in the Additional CSS section of the Customizer. This is useful for those who want to fine-tune specific aspects of their header beyond the basic settings.
For a quick reference, here’s a simple table summarizing the key elements you can customize in the header:
| element | What You Can Change |
|---|---|
| Logo | Upload or select a logo image |
| Site Title | Edit the title and tagline text |
| Layout | Choose from various header layouts |
| Menu | Select which menu to display |
| Background Color | Change the color for the header background |
With these tools at your fingertips, you can create a header that not only captures your brand’s identity but also enhances user experience. Dive into your header settings today and start crafting the perfect first impression for your visitors!
Choosing the Right Header Layout for Your Site
When it comes to designing your website, the header is one of the first elements visitors notice. Choosing the right layout can significantly impact user experience and navigation. A well-structured header serves as a crucial navigation tool, guiding users through your site while enhancing aesthetic appeal.
Consider these essential factors when selecting a header layout:
- User experience: The layout should facilitate easy navigation, with clear access to essential pages like Home, Courses, and Contact.
- Branding: Your header should reflect your brand identity. Use colors, typography, and logos that convey your message effectively.
- Responsive Design: Ensure that your header remains functional and visually appealing on all devices, from desktops to mobile phones.
In Eduma, you have various options for customizing your header layout. Here are a few popular styles:
| Header Style | Key Features |
|---|---|
| Centered header | Great for showcasing your logo. Ideal for minimalist designs. |
| Left-Aligned Header | Traditional layout, perfect for sites with extensive menus. |
| Sticky Header | Remains visible as the user scrolls, ensuring easy access to navigation. |
Don’t forget to experiment with different elements like call-to-action buttons and search bars within your header. A strategically placed button can significantly boost conversions. for example, consider adding a prominent “Enroll Now” button if your site focuses on educational courses.
always keep your audience in mind. Test different layouts and gather feedback to determine which design resonates best with your visitors. You can use A/B testing tools to measure user engagement and make data-driven decisions.
Tips for Adding Your Logo and Site Title Effectively
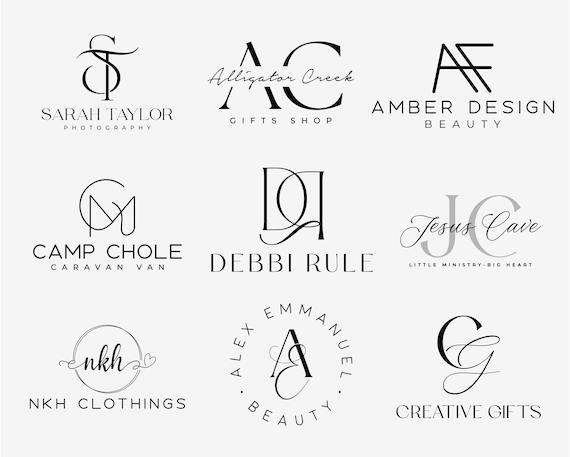
When you’re ready to make your website stand out, the placement and design of your logo and site title are crucial. A well-designed header not only grabs attention but also reinforces your brand identity. Here are some effective tips to ensure your logo and site title captivate visitors:
- Keep It Simple: your logo should be easily recognizable. Avoid overly complex designs that might confuse viewers. A clean, minimalist logo often communicates professionalism and clarity.
- Choose the Right Size: Make sure your logo is appropriately sized for your header. It should be large enough to be legible without overwhelming other header elements. Experiment with different sizes until it feels just right.
- color Coordination: Ensure that your logo’s colors complement the overall theme of your site. Utilize your site’s color palette to create a harmonious look. This synergy helps in maintaining brand consistency.
- Placement Matters: Position your logo in a prominent spot, typically the top left corner of your header. This is where most users expect to find it, enhancing their navigation experience.
- Typography is key: Choose a font for your site title that reflects your brand personality. If your logo uses a specific typeface, consider using similar typography for your title to create a cohesive look.
To further enhance your header,consider integrating a distinct style for your site title. Here’s a quick reference table to help you decide on the right typography:
| Font Style | Best For | Example feel |
|---|---|---|
| Serif | Traditional businesses | Elegant, trustworthy |
| Sans-serif | Modern brands | clean, contemporary |
| Script | Creative arts | Personal, friendly |
| Display | Attention-grabbing | Bold, unique |
Don’t forget about the responsive design! Ensure that your logo and site title look great on all devices, from desktops to smartphones. Test them across various screen sizes to maintain a professional appearance everywhere.
Lastly, regularly review your logo and site title. As your brand evolves,your visual identity should reflect those changes. stay open to feedback and be ready to make adjustments that enhance user experience and brand recognition.
Incorporating Navigation Menus for User-Friendly Experience
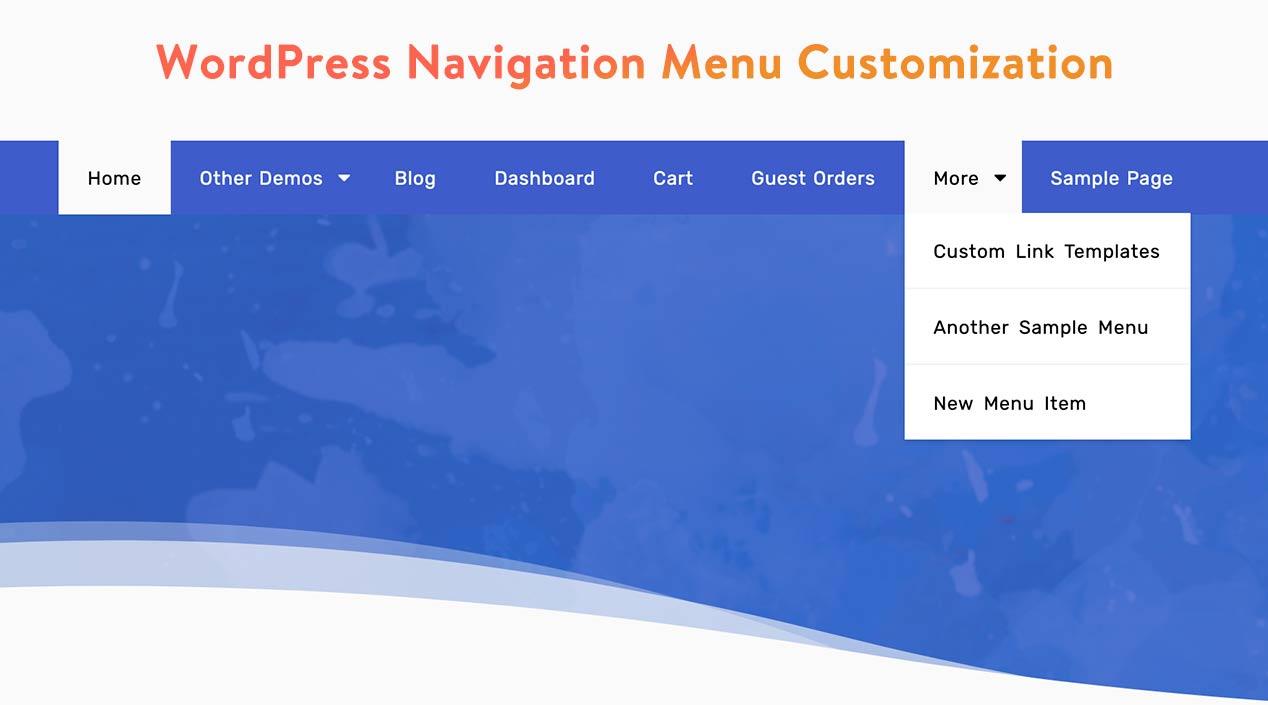
When designing your website, one of the most crucial aspects is ensuring that your navigation menus are clear and easy to use. A well-structured navigation system not only enhances the user experience but also helps visitors find the information they need quickly. In the Eduma WordPress theme, you have a variety of options to customize your navigation menus to achieve just that.
Start by planning the primary sections of your website. Consider incorporating the following elements into your navigation menu:
- Home - A quick link back to the main page.
- Courses – Showcasing all available learning paths and subjects.
- About Us - Sharing your mission and vision can help build trust.
- Contact – ensuring users can easily reach you for inquiries.
- Blog – Keeping your audience engaged with regular updates.
In Eduma, adding new menu items is a straightforward process. Navigate to the WordPress Dashboard,then go to Appearance > Menus. here, you can create a new menu or edit an existing one. Drag and drop your selected pages, categories, or custom links into the menu structure. This adaptability allows you to prioritize the most important sections based on user needs.
Once your menu structure is set up,consider the aesthetic elements that can enhance usability. As an example, you can use dropdowns for subcategories, which help declutter the navigation bar while providing easy access to additional content. This can be particularly useful for course categories, making it simple for users to find specific subjects.
To further improve user experience, ensure that your navigation menus are responsive. This means they should function seamlessly on both desktop and mobile devices. the Eduma theme offers built-in responsiveness, but it’s essential to check how your menu appears on various screen sizes. A mobile-friendly design should feature a hamburger icon that expands when clicked, revealing the menu options.
| Menu item | Purpose |
|---|---|
| Home | Quick navigation to the main page |
| Courses | Access to learning materials and subjects |
| Blog | Latest updates and articles for engagement |
| Contact | Direct channel for user inquiries |
Lastly, don’t forget to regularly review and update your navigation menu based on user feedback and website analytics. keeping the menu relevant ensures that it continues to serve your audience effectively. An intuitive navigation experience can lead to longer site visits and higher engagement rates, ultimately benefiting your site’s overall performance.
Using Widgets to Enhance the Header Functionality
Widgets are powerful tools that can significantly enhance the header functionality of your website, particularly within the Eduma WordPress theme. By strategically placing widgets in the header area, you can not only improve aesthetics but also boost user engagement and navigation. Here’s how you can effectively utilize widgets to create a dynamic header.
First and foremost, consider the types of widgets that align with your website’s objectives. Here’s a brief list of popular widgets you might integrate:
- Custom Menu – Easily direct visitors to important pages.
- Search Bar – Facilitate quick navigation through your content.
- Social Media Icons - Encourage users to connect with you on various platforms.
- Site Logo - Establish brand identity right from the header.
To add these widgets, navigate to Appearance → Widgets in your WordPress dashboard.here, you’ll find areas designated for header widgets, where you can drag and drop your chosen items. Customizing each widget is straightforward: simply click on it and fill in the necessary details. Such as, when adding a Custom Menu widget, select the menu you want to display, ensuring it includes links to your essential pages.
Another effective use of widgets in your header is to implement an eye-catching notification bar. This could be a simple text widget that announces special promotions, upcoming events, or important updates. Using a contrasting color that matches your theme can make this notice pop, ensuring that it captures the attention of your visitors.
For those looking to go a step further,consider the implementation of a call-to-action (CTA) button within your header.This could be a widget that directs users to sign up for a newsletter or register for a course,making it easier for them to engage with your offerings. To do this, you might use a button widget that allows you to easily customize the text, link, and style.
Here’s a simple example of how you might structure a notification bar widget:
| Element | Description |
|---|---|
| Background Color | #ffcc00 |
| Text Color | #000000 |
| Font Size | 16px |
| Link | https://www.yoursite.com/signup |
always remember to test the responsiveness of your widgets. With users accessing sites through various devices, ensuring your header looks great on both mobile and desktop is crucial. Use WordPress’s built-in customizer to preview changes and make adjustments where necessary.
Customizing Colors and Fonts for a unique Look
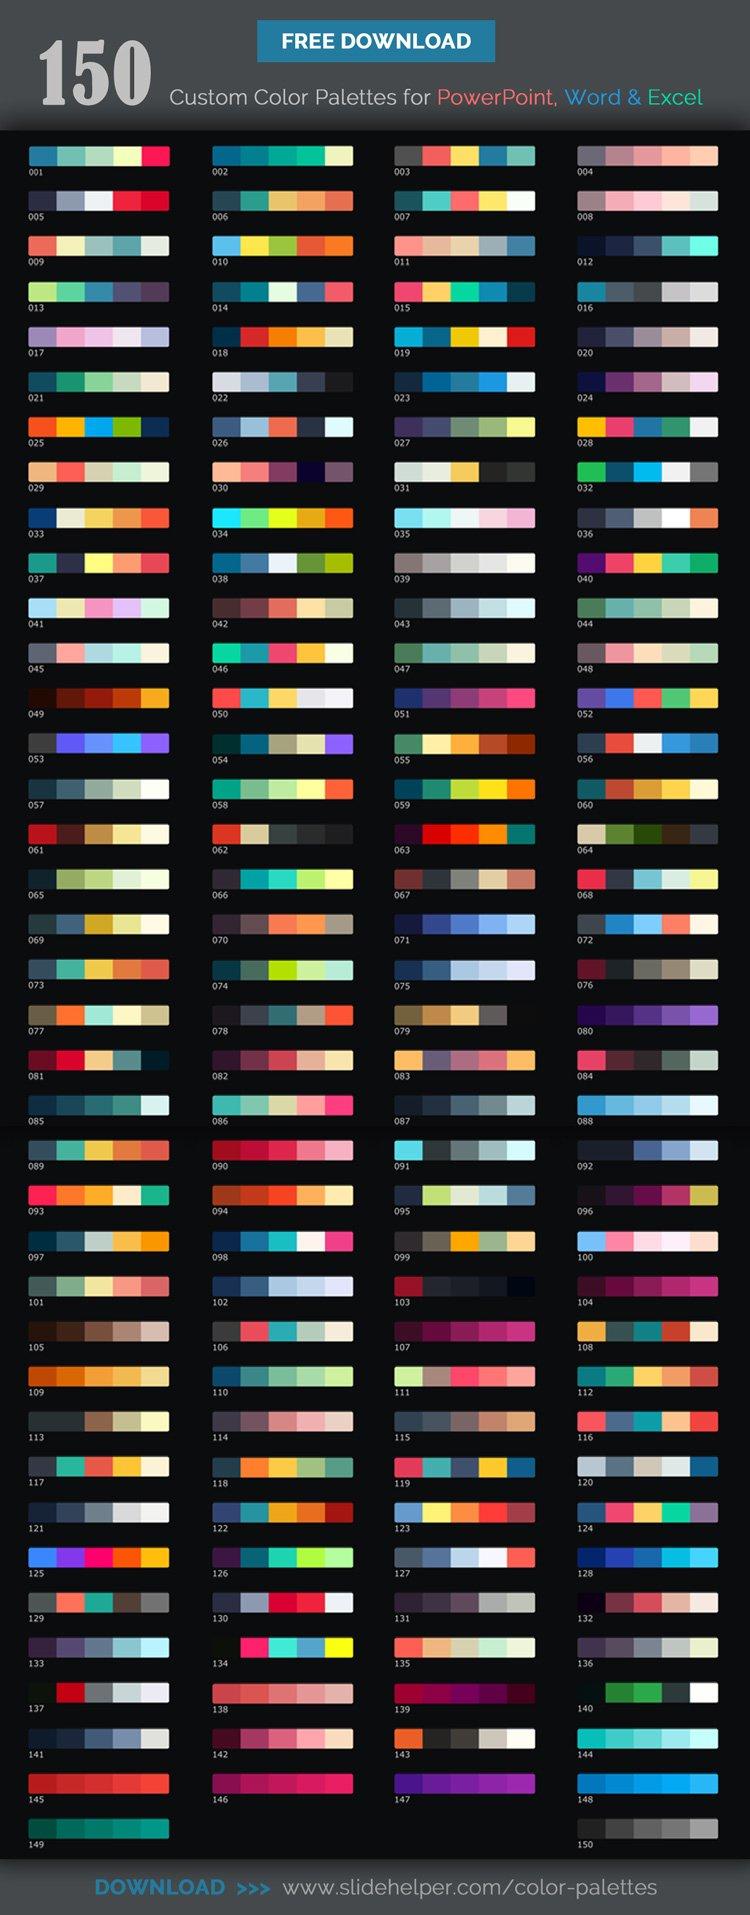
Customizing the colors and fonts in your Eduma WordPress theme is not just about aesthetics; it enhances the overall user experience and builds your brand identity. With a few simple adjustments, you can transform the look of your header to make it truly reflect your vision.
Start with Your Brand Colors: One of the first steps in customization is selecting a color palette that resonates with your brand. Consider the following tips:
- Choose a primary color that represents your brand’s personality.
- Incorporate secondary colors for accents and highlights, ensuring they complement the primary color.
- Utilize neutral tones for backgrounds to create a balanced look.
Eduma allows you to easily change these colors through the WordPress Customizer. Navigate to Appearance > Customize > Colors, where you can input your chosen hex codes or select from the color wheel. This feature empowers you to preview changes in real-time, ensuring that your header stands out while remaining aligned with your overall design.
Font Selection Matters: The fonts you choose can significantly impact the readability and feel of your site. Eduma provides a variety of font options, and you can even integrate Google Fonts for a wider selection.Here’s how to make thoughtful choices:
- select a bold header font that grabs attention.
- Opt for a readable body font to make sure your content is easily digestible.
- Consider the font size for mobile responsiveness; larger fonts improve readability on smaller screens.
When customizing fonts, head over to Appearance > Customize > Typography. You can change the header and body fonts separately, allowing you to create a harmonious visual hierarchy that guides visitors through your content seamlessly.
Implementing CSS for Advanced customization: For those looking to take customization a step further, adding custom CSS can provide unique touches that are not available through standard settings. Here are some quick snippets you might find useful:
| CSS Property | Description |
|---|---|
color: #ff5733; |
Change header text color. |
font-family: 'Roboto', sans-serif; |
Set a specific font for your header. |
background-color: #f0f0f0; |
Add background color to your header for contrast. |
Simply go to Appearance > Customize > Additional CSS to add your custom styles. Remember to preview your changes and adjust as needed. With these customization options at your fingertips, creating a unique and inviting header has never been easier!

Adding social Media Links for Better Engagement
Integrating social media links into your header is a game changer for boosting engagement and building a community around your content. By making it easy for visitors to connect with you on various platforms, you encourage interaction and foster loyalty among your audience. Here’s how to effectively add those links in the Eduma WordPress theme.
To get started, navigate to the Customize section of your WordPress dashboard. This is where the magic happens! Under the header settings, you’ll find options that allow you to add custom links to your social media profiles. Make sure you choose platforms that resonate with your audience.here are a few popular choices:
- Facebook: Perfect for sharing updates and engaging with your community.
- Instagram: Showcase your visuals and connect on a personal level.
- Twitter: Share quick updates and interact with followers in real-time.
- LinkedIn: Great for professional networking and sharing industry insights.
Once you’ve selected the platforms,you’ll want to ensure that the icons are visually appealing and consistent with your site’s design. Eduma offers a variety of icon sets to choose from,so pick ones that fit seamlessly into your site’s aesthetic. Remember,the goal is to make these links noticeable but not overwhelming.
Along with icons,consider adding a brief call-to-action near your social media links. Something simple, like “Join our community!” or “Follow us for the latest updates!” can significantly increase click-through rates. Here’s an example of how you might structure this in your header:
| Social Media Platform | Call to Action |
|---|---|
| Join our community! | |
| Follow our journey! | |
| Stay updated with us! | |
| Connect with professionals! |
Lastly, don’t forget to test your links! Ensure that they lead to the correct profiles and that they are functioning properly.Engaging with your audience on social media is not just about having links; it’s about creating an interactive experience. By following these straightforward steps,you can enhance your header section and watch your audience grow.
Making Your Header Mobile-Friendly
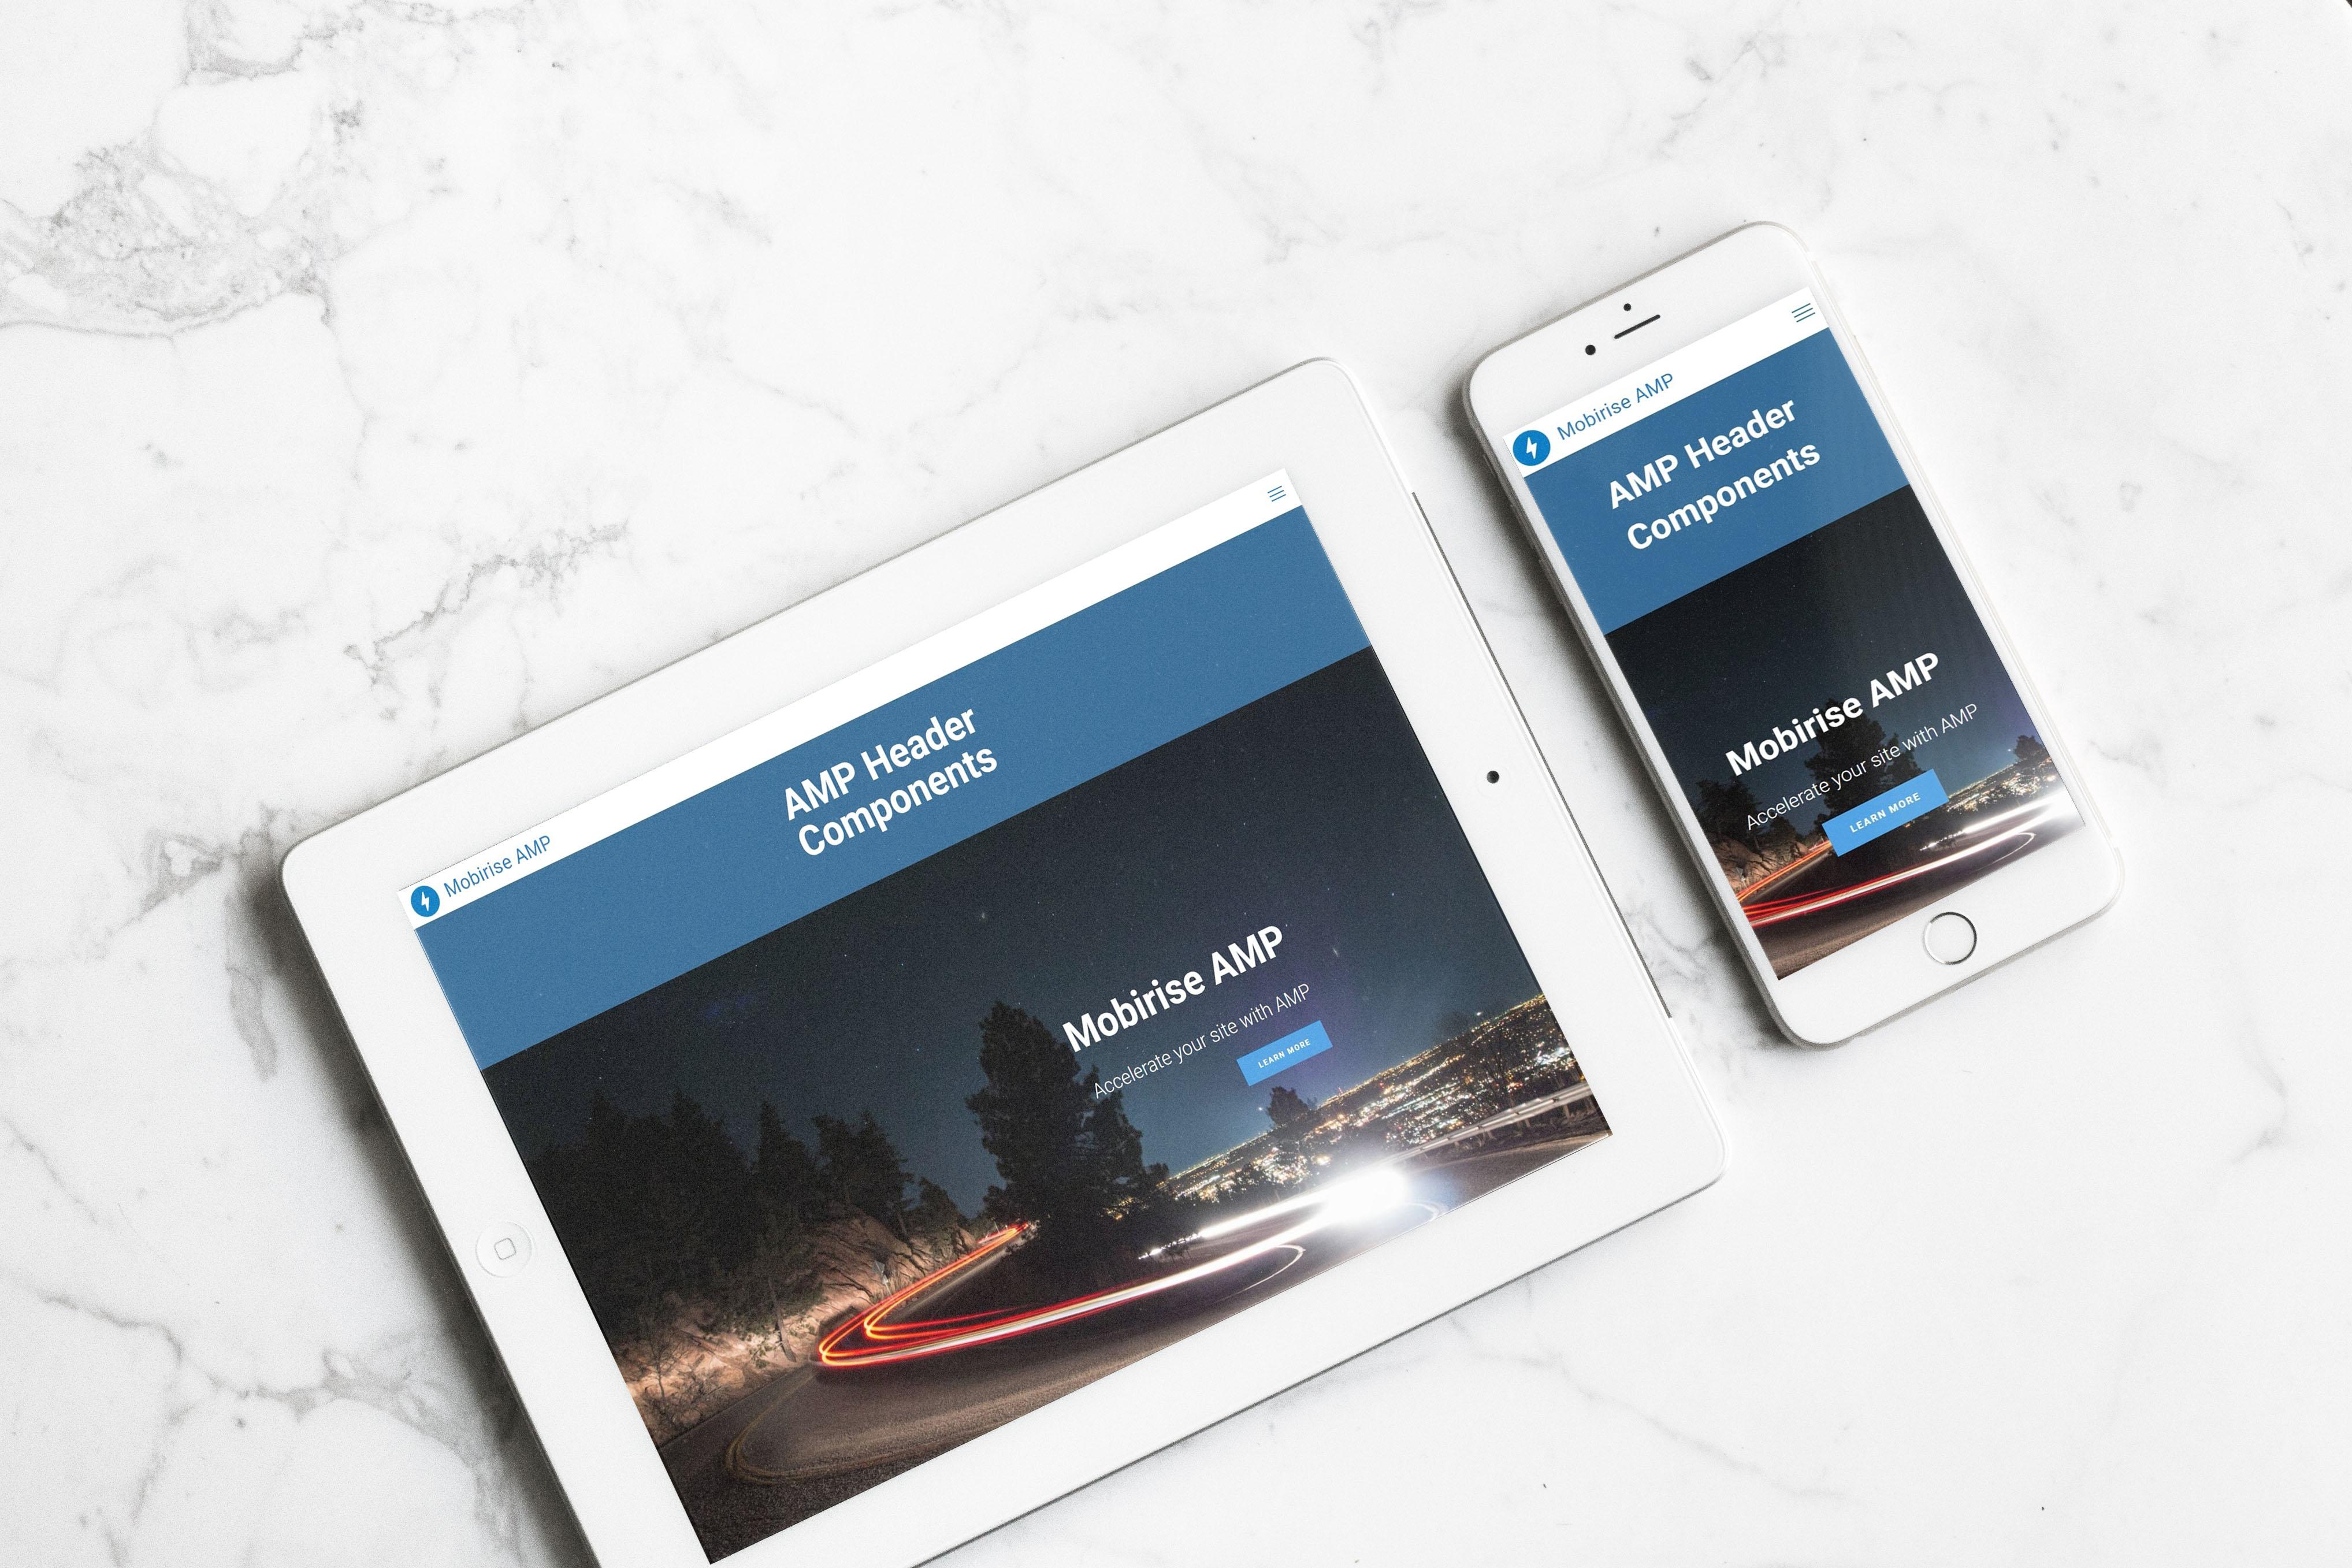
When optimizing your header for mobile devices, the primary focus should be on ensuring that it is not only visually appealing but also functional. Mobile users have different browsing habits, and a header that works well on a desktop may not translate effectively to smaller screens. Here are some essential tips to enhance the mobile experience:
- Simplify Navigation: Use a hamburger menu or a dropdown format to keep the header compact. This reduces clutter and makes it easier for users to find what they’re looking for without overwhelming them.
- Optimize Logo Size: Your logo should be easily recognizable but not take up unnecessary space. Make adjustments to the size in the Eduma theme settings to ensure it’s perfectly displayed on mobile.
- Prioritize Call-to-Action Buttons: If your header includes call-to-action buttons, ensure they are prominent. Use contrasting colors to make them stand out and ensure they are easy to tap on smaller screens.
Another crucial aspect to consider is the overall layout of the header. A responsive design automatically adjusts based on the screen size, ensuring that your header looks great on all devices. Make sure to check how your header appears in the Eduma theme’s customization options:
| Device Type | Header Layout | Recommended Adjustments |
|---|---|---|
| Desktop | Standard layout | Keep elements as is, focus on spacing. |
| Tablet | Stacked Layout | Reduce padding, adjust font sizes slightly. |
| Mobile | Compact Layout | Utilize hamburger menu, resize images. |
Don’t forget to take advantage of font sizes and styles that enhance readability on smaller screens. Opt for larger fonts for headers and ensure that the text contrast is sufficient for visibility.The Eduma theme allows you to customize these options easily:
- Use heading styles that are clear and legible, avoiding overly decorative fonts.
- Consider line height and letter spacing to improve text clarity.
always test your mobile header across various devices before finalizing your design. You can use tools like Google’s Mobile-Friendly Test to ensure your header performs well across different mobile platforms. This step is crucial as a well-optimized header can significantly enhance user engagement and lower bounce rates on your site.

Previewing Changes Before Publishing
When working with the Eduma WordPress theme, it’s crucial to preview your changes before hitting that publish button. This feature allows you to see how your edits will look once live, ensuring that everything aligns with your vision. Here’s how you can seamlessly preview your changes:
- Use the Preview Button: After making changes in the header section, find the ‘Preview’ button located in the WordPress editor. Clicking this will open a new tab displaying your site as it will appear to visitors.
- Check Across Devices: Before finalizing your updates, it’s essential to view how your changes look on different devices. Consider using responsive design tools or resizing your browser window to simulate mobile and tablet views.
- Browser sync Tools: Tools like BrowserSync can help you see changes in real-time across multiple devices. This is especially useful if you are working on a team or want to collaborate.
While previewing, pay attention to specific elements:
| Element | What to Check |
|---|---|
| Logo | Ensure it displays correctly and is well-aligned. |
| navigation Menu | Verify that all links are functional and easy to read. |
| Call-to-Action Buttons | Test their visibility and clickability to enhance user engagement. |
Additionally,don’t forget to check the aesthetics of your header. look for:
- Color Schemes: Make sure your color selections are harmonious and align with your overall branding.
- Font Choices: Confirm that the fonts used are readable and consistent with your design theme.
- Spacing and Alignment: Ensure that all elements are properly spaced and aligned for a clean, professional look.
By taking advantage of the preview feature, you can confidently refine your header section. This extra step may seem small, but it can significantly impact user experience and your site’s overall success.
Troubleshooting Common Header Editing Issues
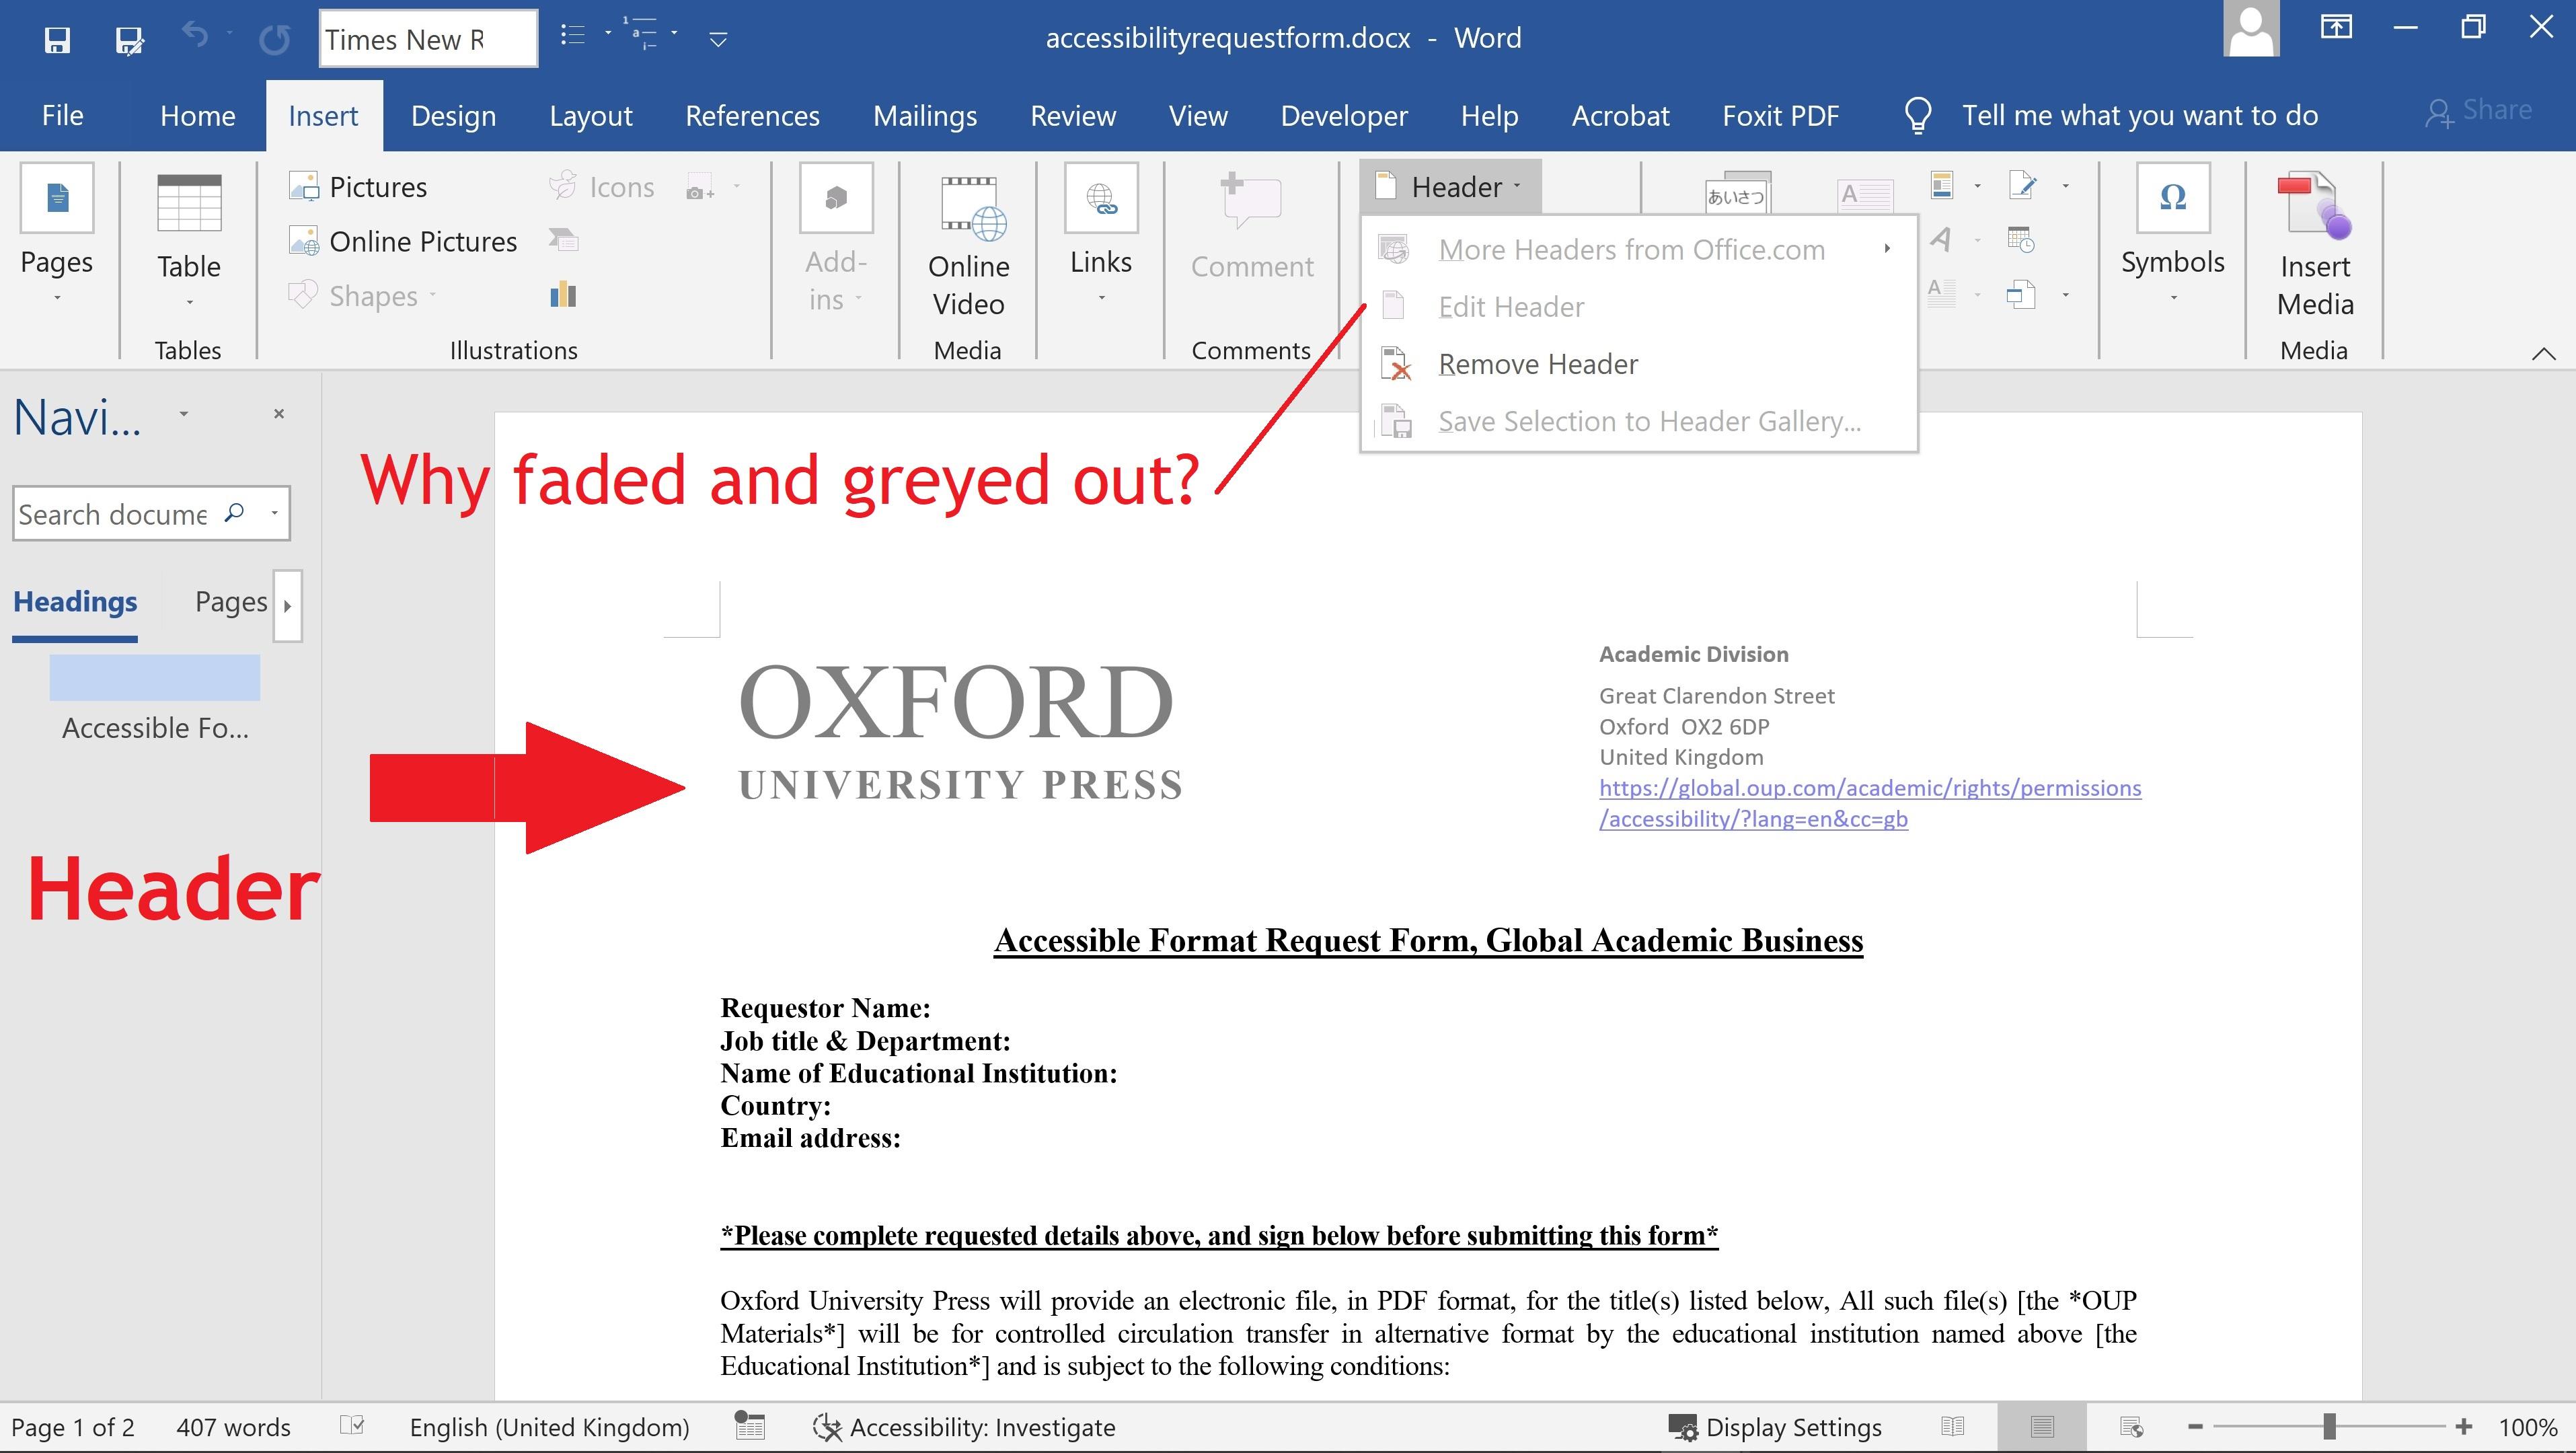
Editing the header section in the Eduma WordPress theme can sometimes lead to unexpected challenges. Don’t worry; many users face similar issues. Here’s how to tackle the common problems to ensure your header looks exactly how you envision it.
1. Header Visibility Issues
if your header isn’t displaying as expected, the first thing to check is the Theme Customizer. Navigate to Appearance → Customize → Header options. Ensure that you’ve enabled the header in the settings. Sometimes,simple toggles can resolve visibility problems.
2. Image Upload Problems
Are you struggling to upload or see changes to your header image? This might be a result of file format or size restrictions. Ensure your image is in a supported format (like JPG or PNG) and doesn’t exceed the maximum upload size set in your WordPress settings. If the problem persists, try clearing your browser cache or switching to a different browser.
3. Custom CSS Conflicts
Sometimes, custom CSS applied to your theme can interfere with header appearances. To troubleshoot:
- Temporarily disable any custom CSS.
- Check for conflicting styles that might affect header elements.
- Use browser developer tools (right-click → inspect) to identify which styles are applied.
4. Menu Display Issues
If your header menu isn’t showing or is misaligned, revisit the menu settings. Go to Appearance → Menus and ensure the correct menu is assigned to the header location.You might also want to check for any plugins that could be interfering with menu functionality.
5.Header Positioning and Alignment
Sometimes headers appear out of place. To fix alignment issues:
- Check your layout settings in the Header section of the customizer.
- Explore margin and padding settings if you have custom CSS.
If you’re using a page builder, ensure that header elements are not being overridden by section settings in the page builder itself.
Table: Common header Issues and Solutions
| Issue | Solution |
|---|---|
| Header not visible | Check Theme Customizer settings |
| Image won’t upload | Check file format/size |
| Menu misaligned | Verify menu settings |
| Custom CSS issues | Temporarily disable and inspect |
By following these troubleshooting tips, you can fix header editing issues and create a polished look that enhances your website’s overall appeal.Don’t hesitate to reach out to the Eduma community for additional support and tips!
Frequently Asked Questions (FAQ)
Q&A: How To Edit Header Section In Eduma WordPress theme?
Q: Why is the header section important in the Eduma WordPress theme?
A: Great question! The header is the first thing your visitors see when they land on your site. It sets the tone for the entire user experience. A well-designed header not only grabs attention but also communicates your brand identity clearly. In the Eduma theme, the header can be customized to make a memorable impression on potential students or clients.
Q: What are the first steps to access the header editing options in Eduma?
A: To start, log in to your WordPress dashboard. From ther, go to “Appearance” and then click on “Customize.” This will take you to the WordPress Customizer, where you’ll find various options, including the header settings. It’s user-friendly, so don’t worry if you’re not tech-savvy!
Q: What specific elements can I edit in the header section?
A: The Eduma theme allows you to edit several elements in the header, including your logo, site title, navigation menu, and even social media icons. You can also modify the header layout and colors to match your branding. The flexibility here is fantastic for creating a unique look that aligns with your educational focus!
Q: How do I change the logo in the header?
A: Changing the logo is simple! In the Customizer, look for the “Site Identity” section. here, you can upload your logo image easily. Just make sure it’s high-quality and representative of your brand. once you upload it, you’ll see a preview, and you can adjust it as needed before hitting “publish.”
Q: Can I modify the navigation menu in the header?
A: Absolutely! A clear navigation menu is essential for user experience. You can edit your menu by going to “Menus” in the Customizer. Here, you can add, remove, or rearrange menu items. This helps guide visitors to important pages, making it easier for them to find what they’re looking for.
Q: What about changing colors and fonts in the header?
A: Personalizing colors and fonts is a breeze with the Eduma theme. In the Customizer, navigate to “Colors” and “Typography.” You’ll find options to adjust the header background,text colors,and font styles. Play around with these settings until you find a combination that feels right for your brand. This is your chance to make your site visually appealing!
Q: Is it possible to add a call-to-action button in the header?
A: Yes! A call-to-action (CTA) button in your header can significantly improve engagement.You can add this feature in the “Header Settings” section of the Customizer. Having a prominent button for inquiries, registrations, or downloads can direct your users to take action, enhancing your site’s effectiveness.
Q: Can I preview my changes before making them live?
A: Definitely! The WordPress Customizer allows you to see real-time changes as you edit. You can experiment with different elements and colors, and when you’re satisfied, simply hit “Publish” to make everything live.this feature helps you fine-tune your header without any guesswork!
Q: Any last tips for making my header stand out?
A: Of course! Keep it simple and uncluttered—less is often more. Make sure your key information is easily accessible and your branding is consistent. Use high-quality images and clear fonts that enhance readability. Don’t forget to test your header on various devices to ensure responsiveness. Happy customizing!
Feel free to reach out if you have more questions or need further assistance with your Eduma WordPress theme.Let’s create an engaging header that captures your audience’s attention!
In Retrospect
And there you have it! Editing the header section in the Eduma WordPress theme is not just a task; it’s an opportunity to enhance your website’s aesthetic and functionality. By following the steps we’ve discussed, you can create a header that not only looks great but also serves your visitors’ needs.
Remember, your website’s header is the first thing people see—it sets the tone for their entire experience. So, why settle for a generic look when you can customize it to reflect your unique brand and message?
If you have any questions or run into any hiccups as you make these changes, don’t hesitate to reach out. The community is here to help, and your journey in mastering Eduma is just beginning.
now, go ahead and make that header shine! Happy editing, and may your site attract and engage visitors like never before!


